File Manager
The Responsive Filemanager is available, which lets you access required files on the FTP server directly. It is also possible to upload or download files in this way. Once the file manager is installed, it can be opened via Toolbox > File Manager.
Installing the file manager
Uploading to the FTP server
In the installation package of your shop you will find the folder ResponsiveFilemanager. Upload this folder to the main directory of your shop, if you have not already done so.
Note
The installation directory of your shop can be determined relatively easily using a small trick. In the Gambio Admin, open either Toolbox > Back up files or Toolbox > Database backup. In each case a table with backups is displayed. Below the table the so-called backup directory is shown, for example
/htdocs/shop/admin/backups/
or similar (in your shop a different path will probably be shown). Mentally remove the part
/admin/backups/
and you obtain the folder on the FTP server.
Installation in the shop
The file manager can be installed under Modules > Module Center. Select the entry File Manager here and click Install at the bottom right. The module is then available and will be used in the shop.
Configuration
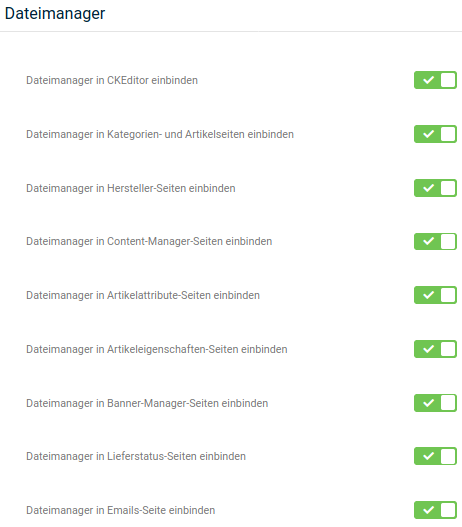
After installation, the file manager is preset for use throughout the entire shop. These settings can be adjusted as needed under Modules > Module Center. The following configuration options are available:
- Integrate file manager into CKEditor
- Integrate file manager into category and product pages
- Integrate file manager into manufacturer pages
- Integrate file manager into content manager pages
- Integrate file manager into product attribute pages
- Integrate file manager into product properties pages
- Integrate file manager into banner manager pages
- Integrate file manager into delivery status pages
- Integrate file manager into emails page
Set or remove a checkmark to enable or disable the respective setting and confirm the changes by clicking Save.
Function overview of the file manager
The file manager window consists of a central area in which files and directories are displayed, as well as two toolbars through which settings can be made.
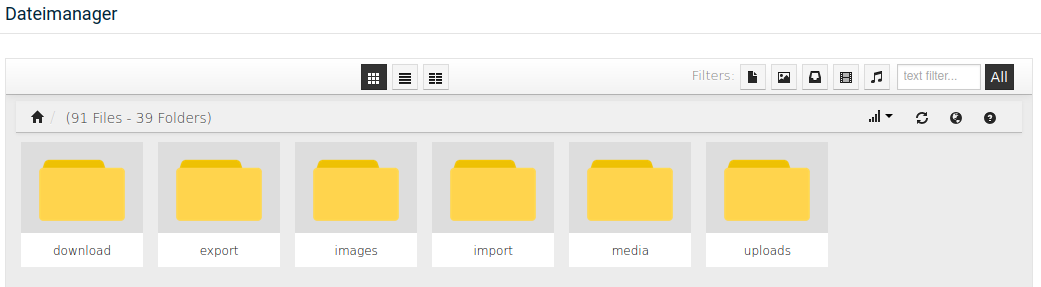
The main functions are located at the left end of the upper toolbar; from left to right these are:

- Upload
- New file
- New directory
- Paste from clipboard
- Clear clipboard
In the middle of the upper toolbar are the settings for the view:
- Box view
- List view
- Column view
At the right end of the upper toolbar are the filter settings. Select one of the filter buttons to display only

- Files
- Images
- Archives
- Videos
- Music
or use the input field 'text filter' to filter by a file name.
Clicking the x (All) resets the filter.
In the lower toolbar, the current path is shown on the left; by clicking one of the listed directories you can switch to it. Clicking the house takes you to the main directory.

On the right are the controls
- Sort
- Refresh
- Change language
- About...
Using the file manager
The file manager can be opened either under Toolbox > File Manager or in the respective area in which it is integrated. To do so, click the button with the file upload symbol. Depending on the area from which the file manager was opened, the assigned directory on the FTP server is displayed. When opened via Toolbox > File Manager, the main directory of the shop is displayed.

Note
The file manager only displays the files and directories that are relevant for editing. Source files that affect the functioning of the shop are not available through it.
Uploading a file
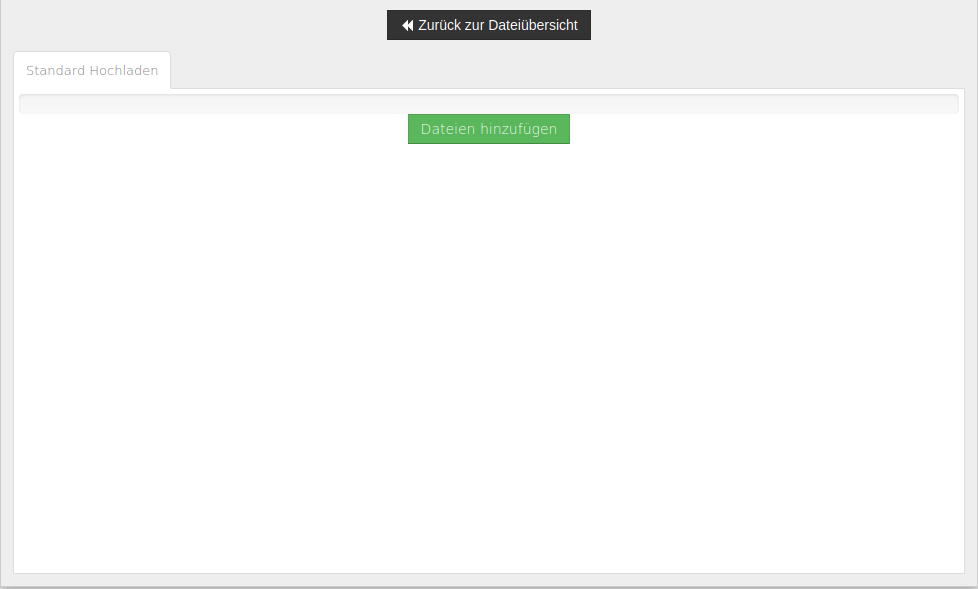
Click Upload; the dialog for uploading a file opens. Drag the desired file(s) into the white field to upload them, or alternatively click the green button Add files.
Creating a text-based file
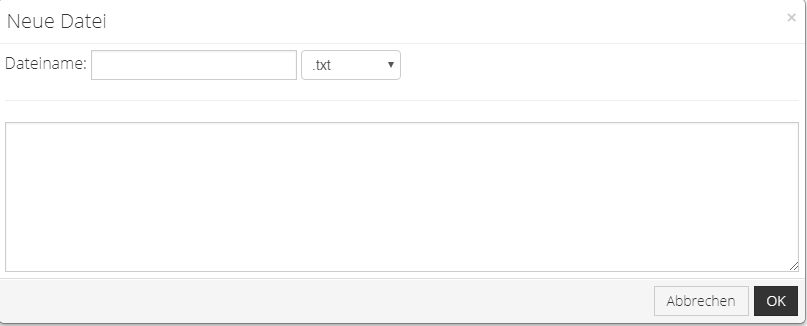
Click New file to create a file. Set the name in the File name field and select the desired extension in the dropdown to the right of it. The content can be defined in the text field below. Clicking OK creates the file; with Cancel you can close the dialog without creating a file.
Creating a directory
Clicking New directory lets you create a new folder in the current directory. Enter the name of the folder and confirm with OK. Clicking Cancel leaves the dialog without creating a directory.

Actions for files
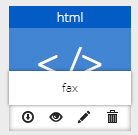
To perform an action on a file, move the mouse pointer over it. The file name moves upward and the following icons are displayed in order:
- Download
- Preview
- Rename
- Delete
If an icon is grayed out, the respective action cannot be performed.
Actions for directories
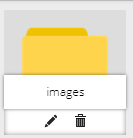
To perform an action on a directory, move the mouse pointer over it. The directory name moves upward and the following icons are displayed in order:
- Rename
- Delete