Banner Manager
The Banner Manager allows you to display your own banners or banners from companies you cooperate with in your shop.
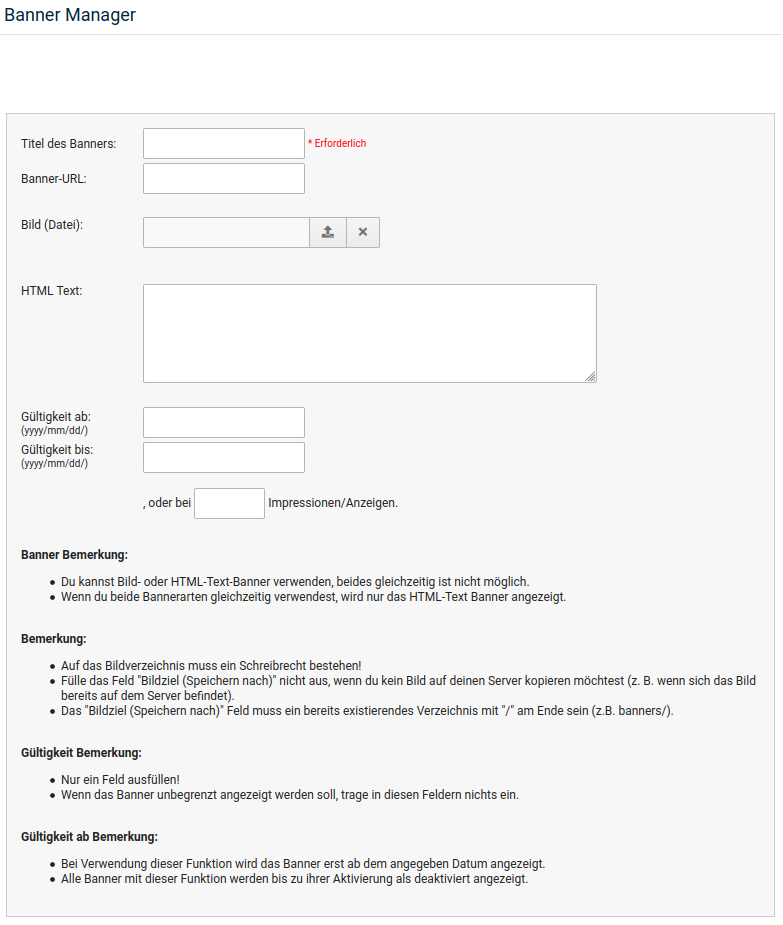
The shop distinguishes between image banners and HTML banners.
Regardless of the desired banner type, the first thing you do is assign a title for the new banner. This is displayed as the name on the overview page of the Banner Manager. For an image banner, you can enter the banner's target page under Banner URL with a leading http:// or https://. This can be an external website such as https://www.gambio.de/ or a page of your shop, for example http://www.dein-shop.de/kategorie/artikel.html
For an image banner, select the desired banner graphic from your computer under Image (file), which will then be saved on the server. If you have uploaded the banners via FTP to the directory images/banner/, you can enter the name of the uploaded graphic in the first input field.
If you upload a graphic via the Banner Manager, you can enter a new name in the second input field under which the file should be saved on the server. Leave this empty to keep the original name of the graphic.
For an HTML banner, you can enter the desired HTML code in the HTML text field.
Using the fields Valid from and Valid until, you can define the period during which the banner should be displayed in the shop. In addition to the period, you can also specify a number of times the banner should be displayed.