Invoice overview
Overview
The overview of created invoices can be opened under Orders > Invoices. Via the Settings and Number ranges tabs you go directly to the respective options (see the chapters Configuring invoice & delivery note and Number ranges respectively).
Note
The associated menu items are located under Settings / System / Invoice & delivery note and Settings / System / Order and customer number and can each be opened there via the open button.
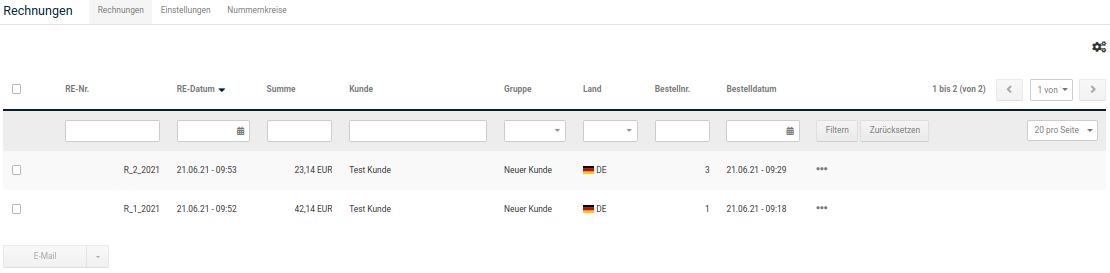
The invoices created in the shop are listed in the form of a table. The following columns are available:
- Invoice no.
- Invoice date
- Total
- Customer
- Group
- Country
- Order no.
- Order date
- Payment
- Status
Actions
Clicking a column heading lets you sort the table by the respective column (one click: ascending sort, another click: descending sort). To the right of the column headings are the page display and the page selection. Above the page selection, the settings page can be opened via the gear symbol (see Settings).
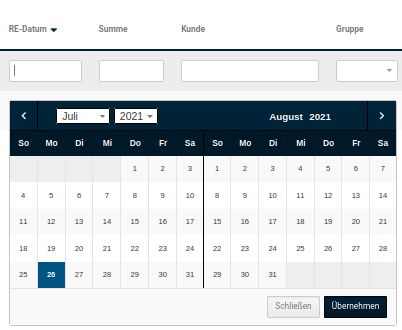
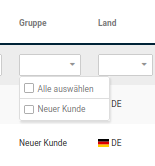
Via the blue-highlighted bar, the invoices can be filtered by certain criteria. Input fields, date selectors and dropdowns are available for this. Select or enter the respective filter criteria and then click the Filter button. Clicking Reset lets you undo the filter process. In addition, the number of invoices per page can be set via the dropdown at the right end of the bar.
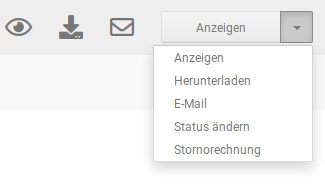
When you move the mouse pointer into the row of an invoice, the possible actions are displayed as icons. From left to right these are display, download and email. In addition, a dropdown button is displayed. With Change status, the status of the associated order can be adjusted. Via Cancellation invoice, a cancellation invoice can be generated for an existing invoice if the order is to be canceled.
Settings
Open the settings window by clicking the gear symbol.
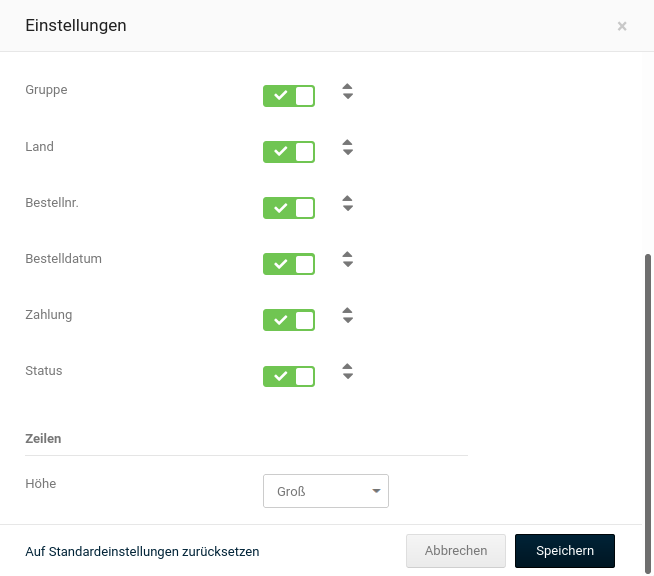
Via the settings window, the column selection and order as well as the row height can be defined. Set (✔) or remove (✖) a checkmark to show or hide the column.
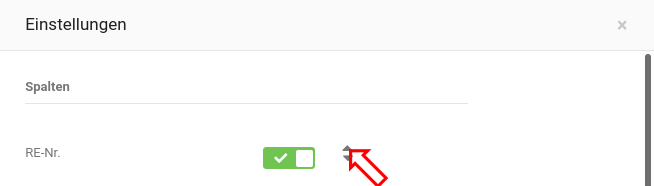
Click the two triangles at the end of the entry with the mouse and hold the mouse button down to drag it up or down. In this way you change the order of the column. Via the Height dropdown, the row height can be set. Confirm the changes made by clicking Save. Via Cancel the settings window can be left without applying the changes made. Clicking the link Reset to default settings preselects the default settings (to apply them, please click Save).