Withdrawals¶
Managing withdrawals in the Gambio Admin¶
Under Orders > Withdrawals, the received withdrawals are listed sorted by date in descending order. Clicking on the Edit button displays the details of the selected withdrawal.
The order number can be changed via the corresponding input field. Via the buttons Open customer (not available for guest customers) and Open order details you can go directly to the corresponding customer or order details page. In addition to the customer data, order data and the actual withdrawal text, the lower area of the page shows whether the withdrawal was created by the customer or the administrator. Clicking on Back takes you back to the withdrawal overview. Clicking on Delete removes the selected withdrawal. This is confirmed with a security prompt.
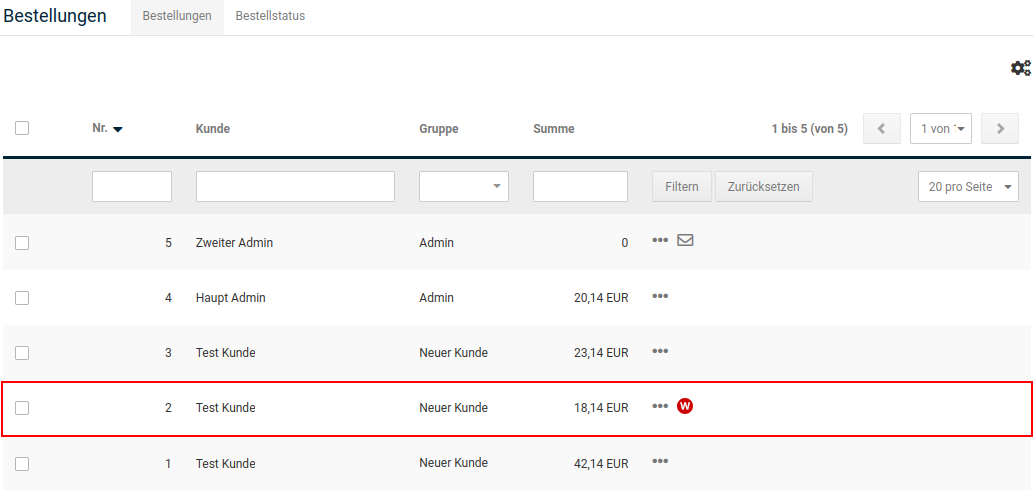
The menu item Orders > Orders contains an indicator next to the Status column. The icon displayed there indicates that a withdrawal exists for this order. Multiple received withdrawals are indicated by several consecutive icons. Clicking on the red icon takes you directly to the respective withdrawal. The corresponding ID is displayed as a tooltip when the mouse pointer is placed over the symbol.
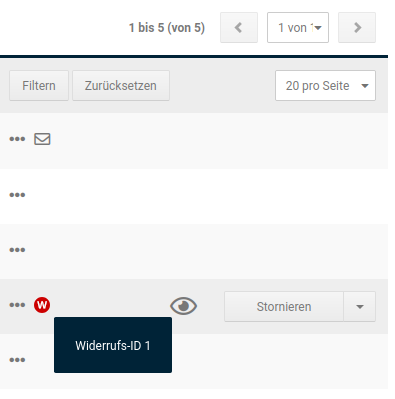
In addition, a withdrawal can be created by the administrator for the selected order both from the order overview and from the order details view. The pre-filled online withdrawal form opens in a new tab or new window (depending on the browser setting).
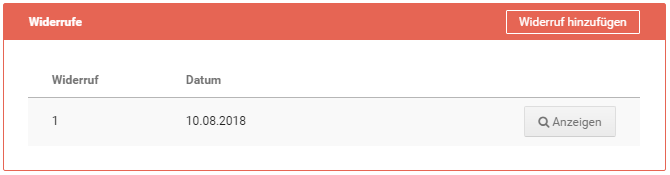
In the order details, the withdrawals received or created for this order are displayed. They are listed with the ID and the date of the withdrawal. Clicking on Show opens the corresponding withdrawal.
If the customer has waived their right of withdrawal for a download or a service, a new section Waiver of withdrawal is also listed below the withdrawal list. Here, the message Waiver of right of withdrawal for service: YES or Waiver of right of withdrawal for download product: YES is displayed.
Implementation of the Consumer Rights Directive in the frontend of the shop¶
Shopping cart¶
A link with the notice Here you can find information on shipping & payment conditions. is displayed above the Continue shopping button.
Ordering process¶
Under the item Right of withdrawal in the Payment information section, the contents Right of withdrawal 1 to Right of withdrawal 4 (depending on whether they are set to visible or not) are displayed. In addition, for download products and services, the customer has the option of consenting to the execution of the contract before the expiry of the right of withdrawal. This can be confirmed by ticking the box with the text
I agree and wish to start the download immediately before the end of the withdrawal period...
or
I agree and expressly request that you begin performing the commissioned service before the end of the withdrawal period...
.
Note
Ticking this box can be defined as a mandatory field by the shop owner for download products and services. The corresponding settings can be found under Settings / Legal. See Legal settings.
Via the link (Download as PDF), the customer has the option of downloading both the general terms and conditions and the right of withdrawal as a PDF file.
Order information¶
If the settings are set under Settings / Legal, the corresponding reference to the withdrawal form is displayed in the order information under Your account. This can optionally be in PDF format and/or as an online form.
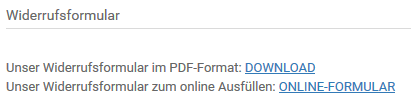
In addition, if the customer waives the right of withdrawal, as may be the case with a download or a service, the corresponding confirmation text is displayed below the Products section.
Order confirmation¶
With the implementation of the Consumer Rights Directive, the order confirmation e-mail now contains the general terms and conditions and the right of withdrawal as a PDF attachment by default. The withdrawal form is also sent along if the setting Offer PDF form is set under Settings / Legal. In addition, identical references to the withdrawal form are listed, as already in the order information under Your account, if the corresponding checkmarks are set.
Online withdrawal form¶
Note
The reference to the online withdrawal form is configured under Settings / Legal. To do this, set the setting for Offer web form in the Right of withdrawal section.
The online withdrawal form can be accessed both via the general content Right of withdrawal & model withdrawal form (see the More about... box in the footer) and from the orders under Your account (see Order information). If it is accessed from the affected order itself, the online form is already largely pre-filled. In general, mandatory fields are marked with an asterisk *. This function is limited for guest customers.
By default, the form contains the contact information entered under Settings / Shop / Shop owner as the addressee, as well as a text input field in the Withdrawal section, which is filled with a default text:
I/we hereby withdraw from the contract concluded by me/us for the purchase of the following goods / the provision of the following service:
Below the text field, a notice is listed according to which inapplicable items are to be deleted and the content is to be supplemented accordingly.
A further input field is used to specify the date on which the order was placed or received. Clicking in the input field opens a calendar via which the date can be selected and automatically inserted into the field. In addition, a radio button can be used to choose between Ordered on and Received on.
This is followed by fields for the name, address and e-mail address of the consumer. Finally, there is another mandatory field with a calendar function for the withdrawal date. This field is never pre-filled.
Clicking on the Declare withdrawal button sends the form. The customer receives an automatic confirmation e-mail.
Withdrawal confirmation¶
The confirmation e-mail is automatically sent to the customer. With the exception of the customer's e-mail address, it contains all the information that is part of the online withdrawal form.
The e-mail is sent after clicking on the Declare withdrawal button in the online form. This is the case both when the withdrawal is created by the customer and by the administrator.
Setting up the withdrawal button in the footer¶
To comply with § 356a of the German Civil Code (BGB), a legally compliant Right of withdrawal section can be added to the shop footer. The section contains a styled button linking to the withdrawal form, plus a text link to the page with the withdrawal instructions.
Which option applies to you?¶
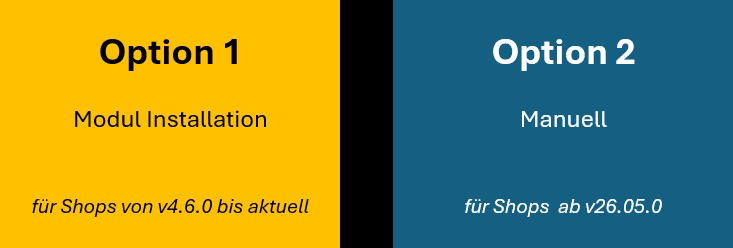
There are two ways to add the withdrawal button:
- Option 1 – Module installation: for shops from v4.6.0 up to the latest version. The button is added via the Widerruf-Button im Footer module, without manually editing footer content or theme styles.
- Option 2 – Manual setup: for shops from v26.05.0. The button is added by editing the template.
Option 1 – Install the „Widerruf-Button im Footer“ module¶
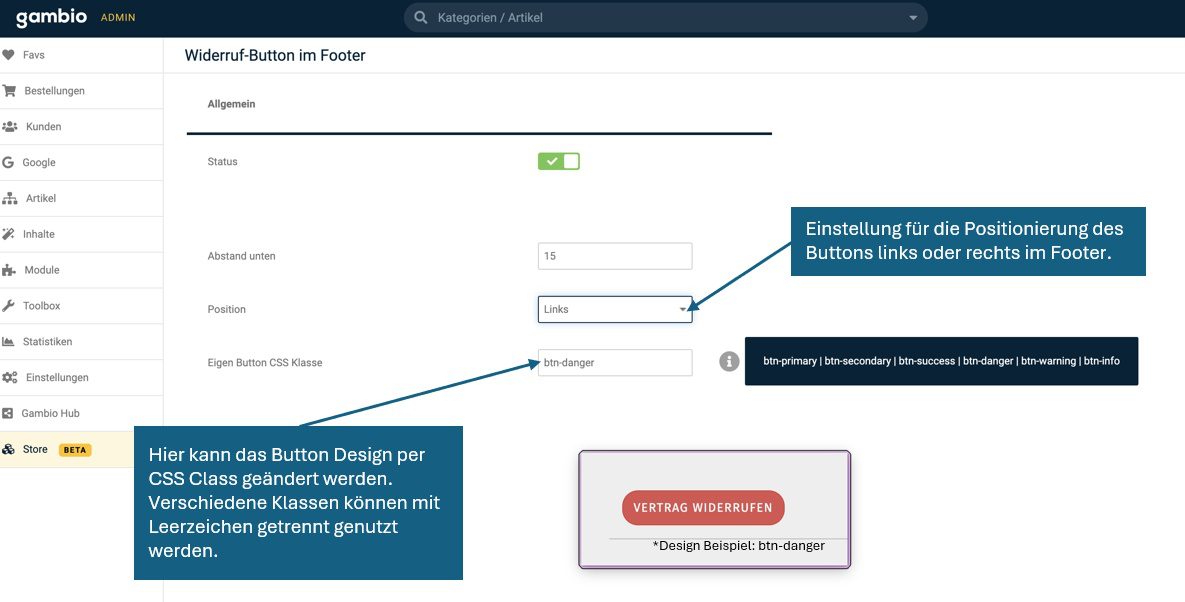
The withdrawal button can be added by downloading and installing the Widerruf-Button im Footer module from the Store. After installation, the module adds the button without any manual editing of footer content or theme styles.
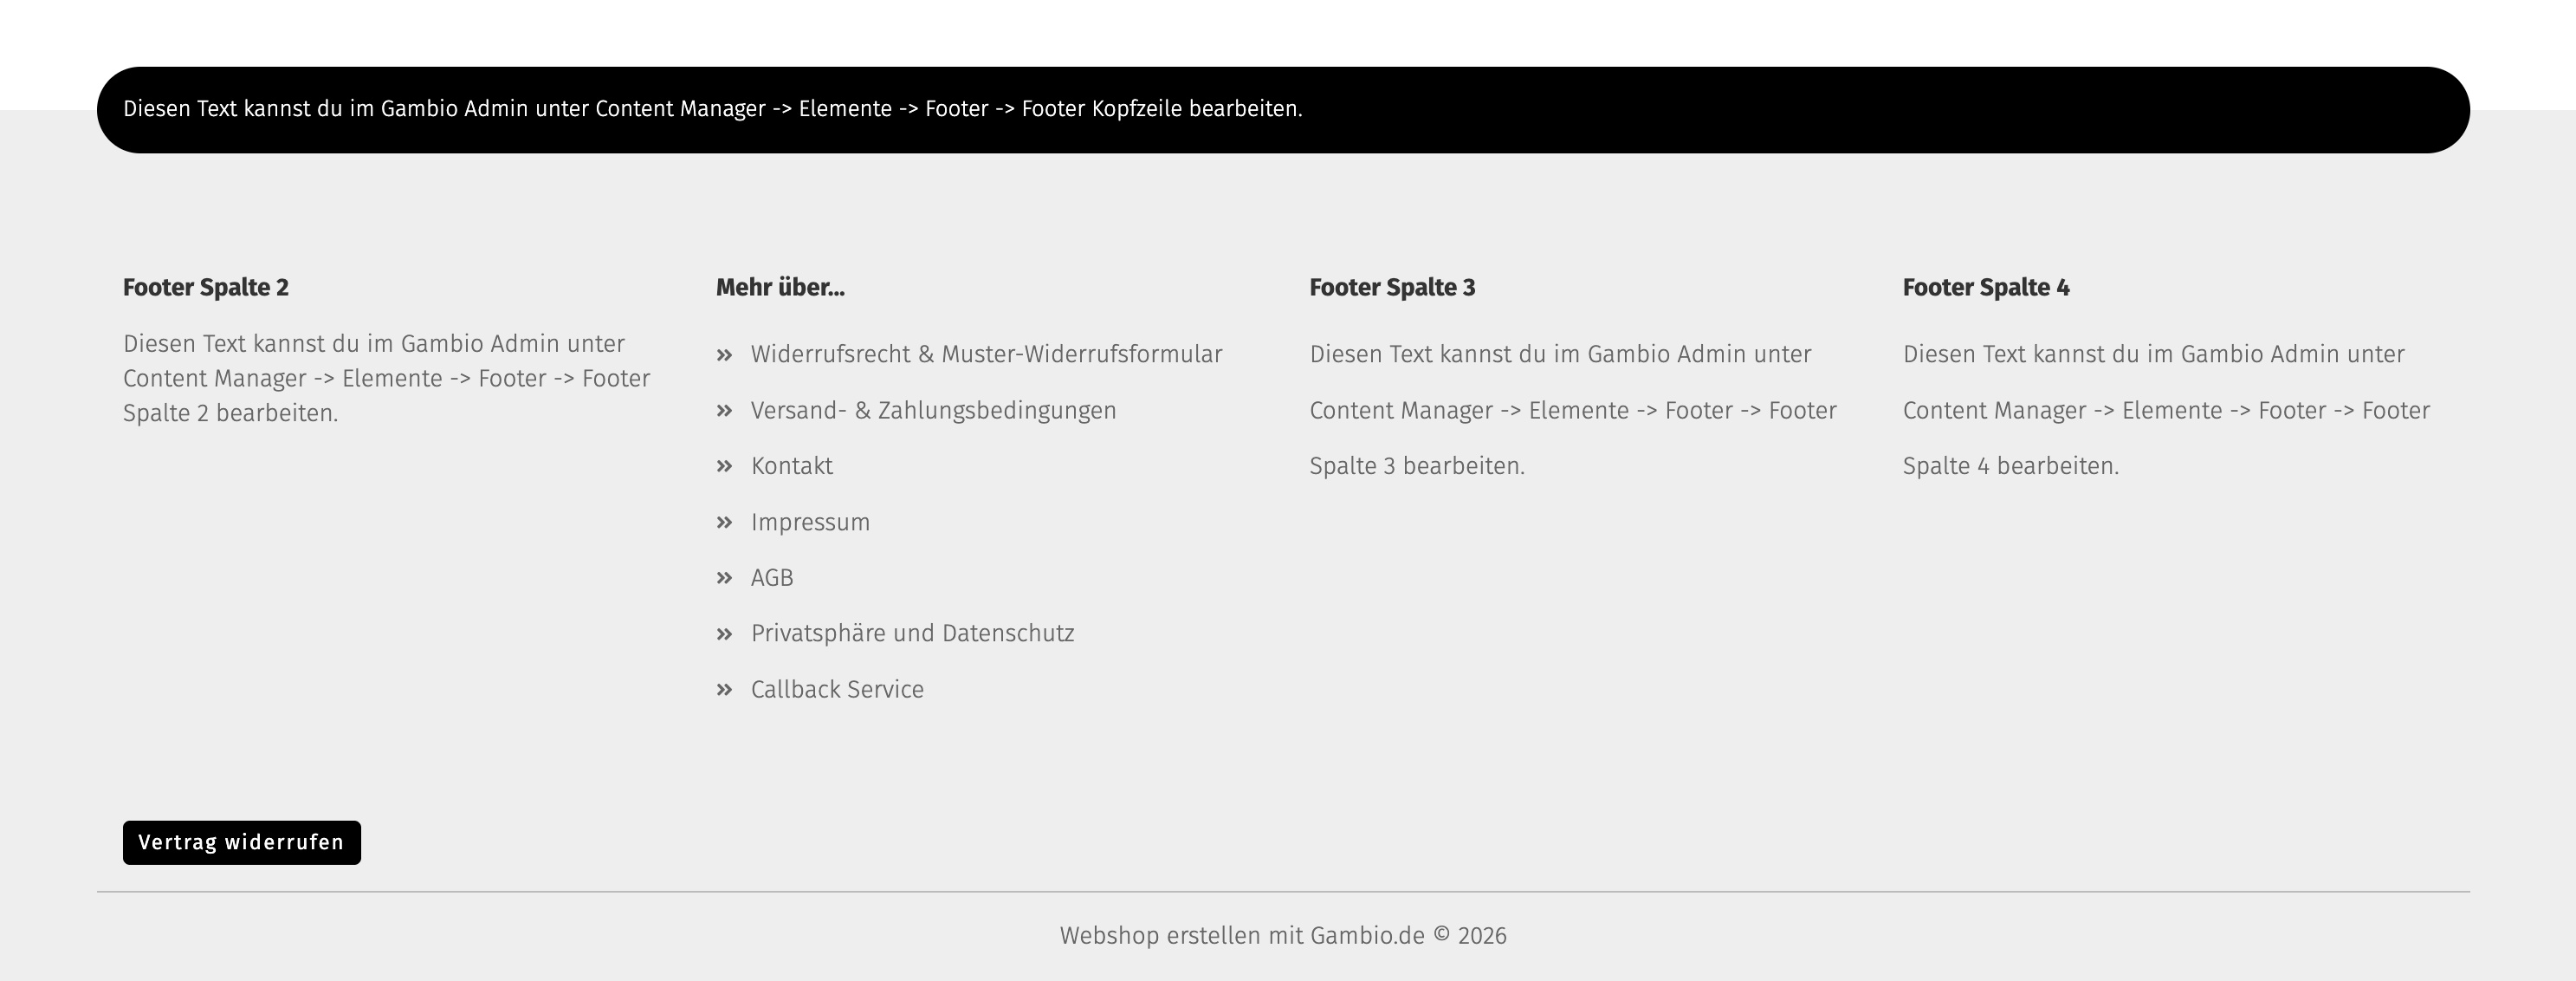
Once the module is installed, the appearance can be adjusted in the module settings:
- Status – enables or disables the button.
- Bottom spacing – sets the distance between the button and the bottom edge.
- Position – positions the button on the left or right of the footer.
- Custom button CSS class – changes the button design via a CSS class (e.g.
btn-primary,btn-secondary,btn-success,btn-danger,btn-warning,btn-info). Multiple classes can be separated by spaces.
Option 2 – Manual setup (from shop version 26.05.0)¶
If you use shop version 26.05.0 or newer, you can follow the instructions below to make the required changes to your template.
After completing the steps below, column 4 in the footer shows the Right of withdrawal section with a styled button and a text link.
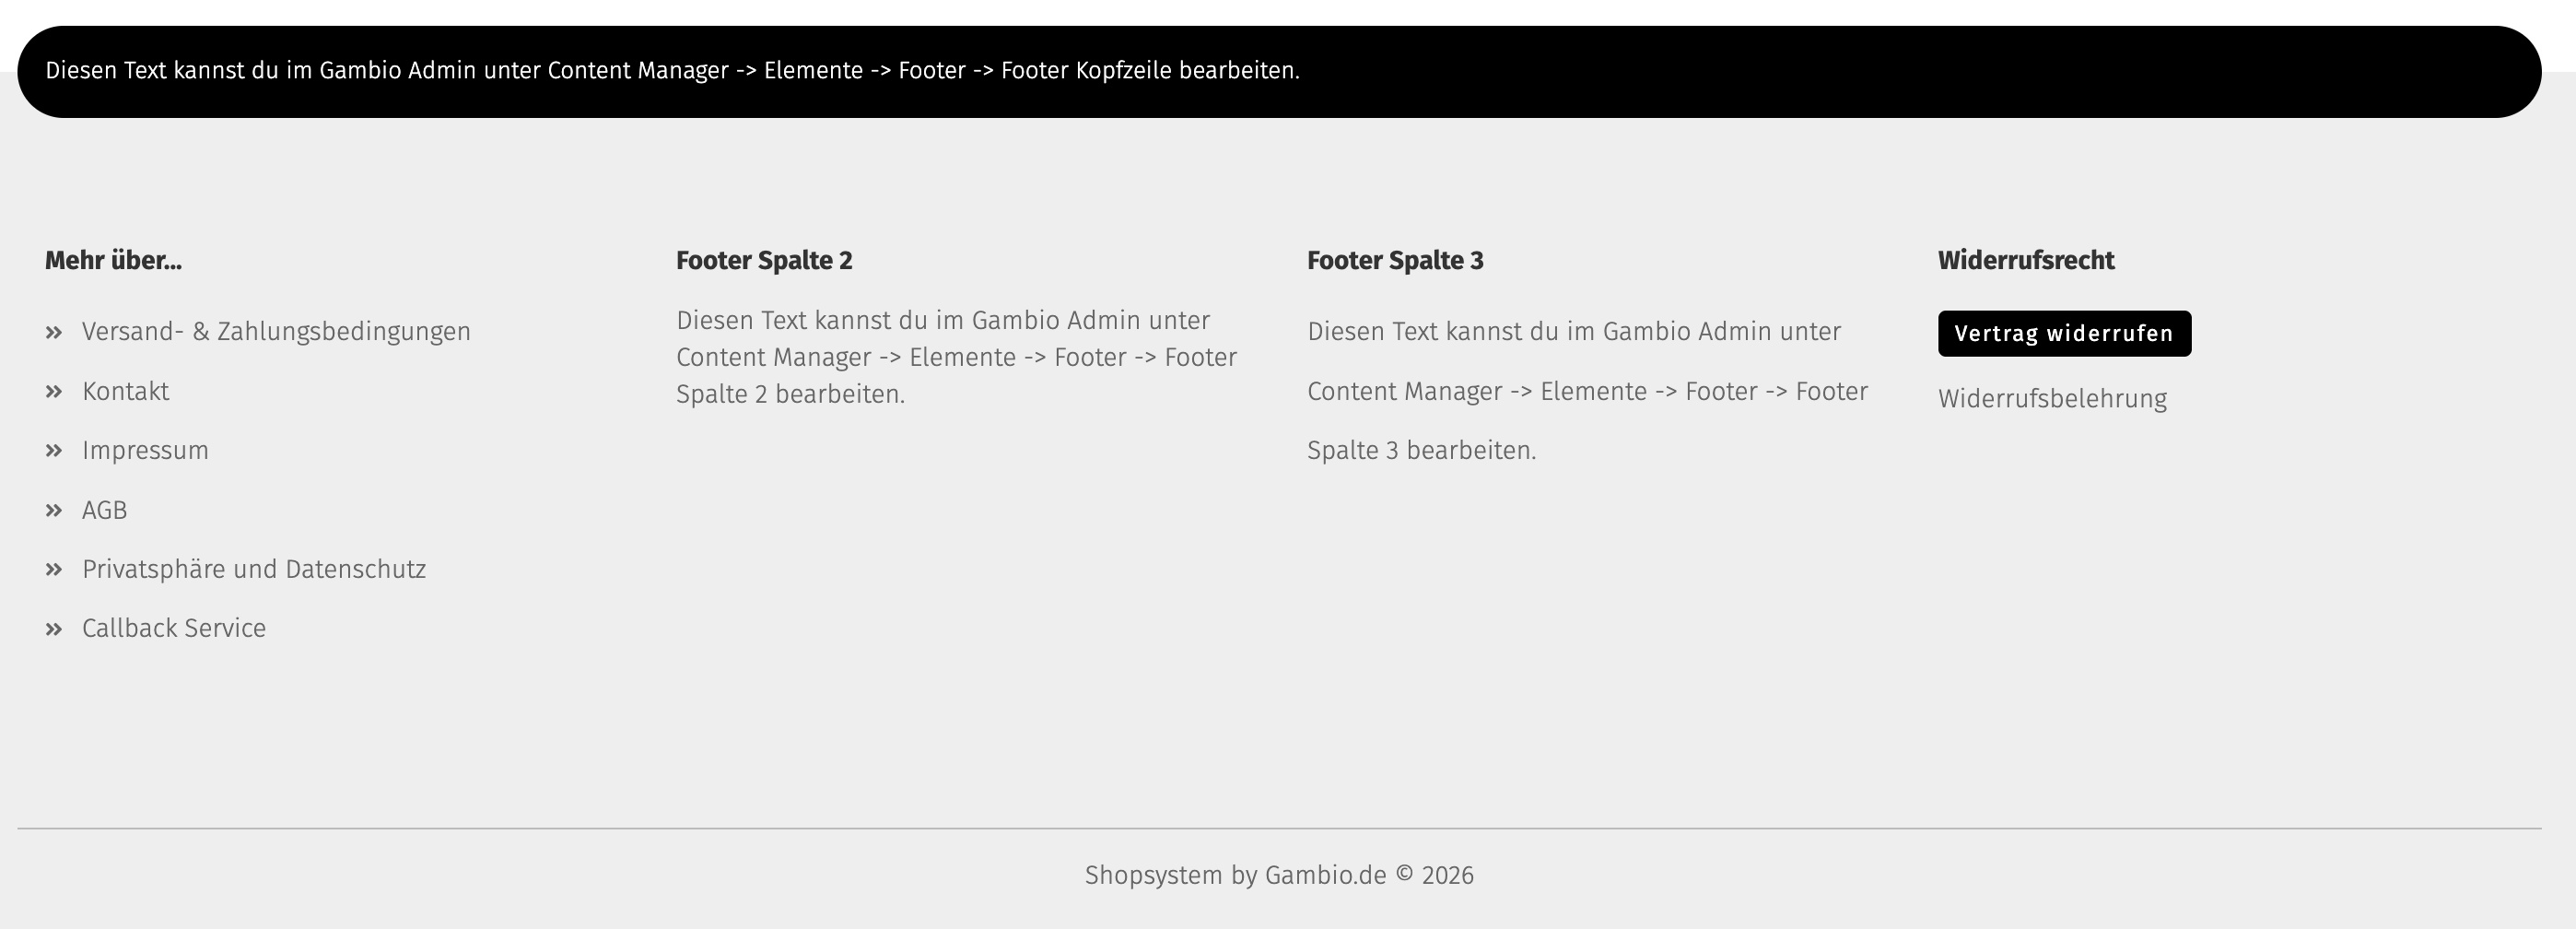
Two methods are available: Method 1 via the Content Manager and Method 2 via Content Zones (StyleEdit).
Method 1 – via the Content Manager¶
This method adds the button by editing the footer column element in the Content Manager.
Step 1 – Log in as admin. Open the shop and log in with an administrator account.
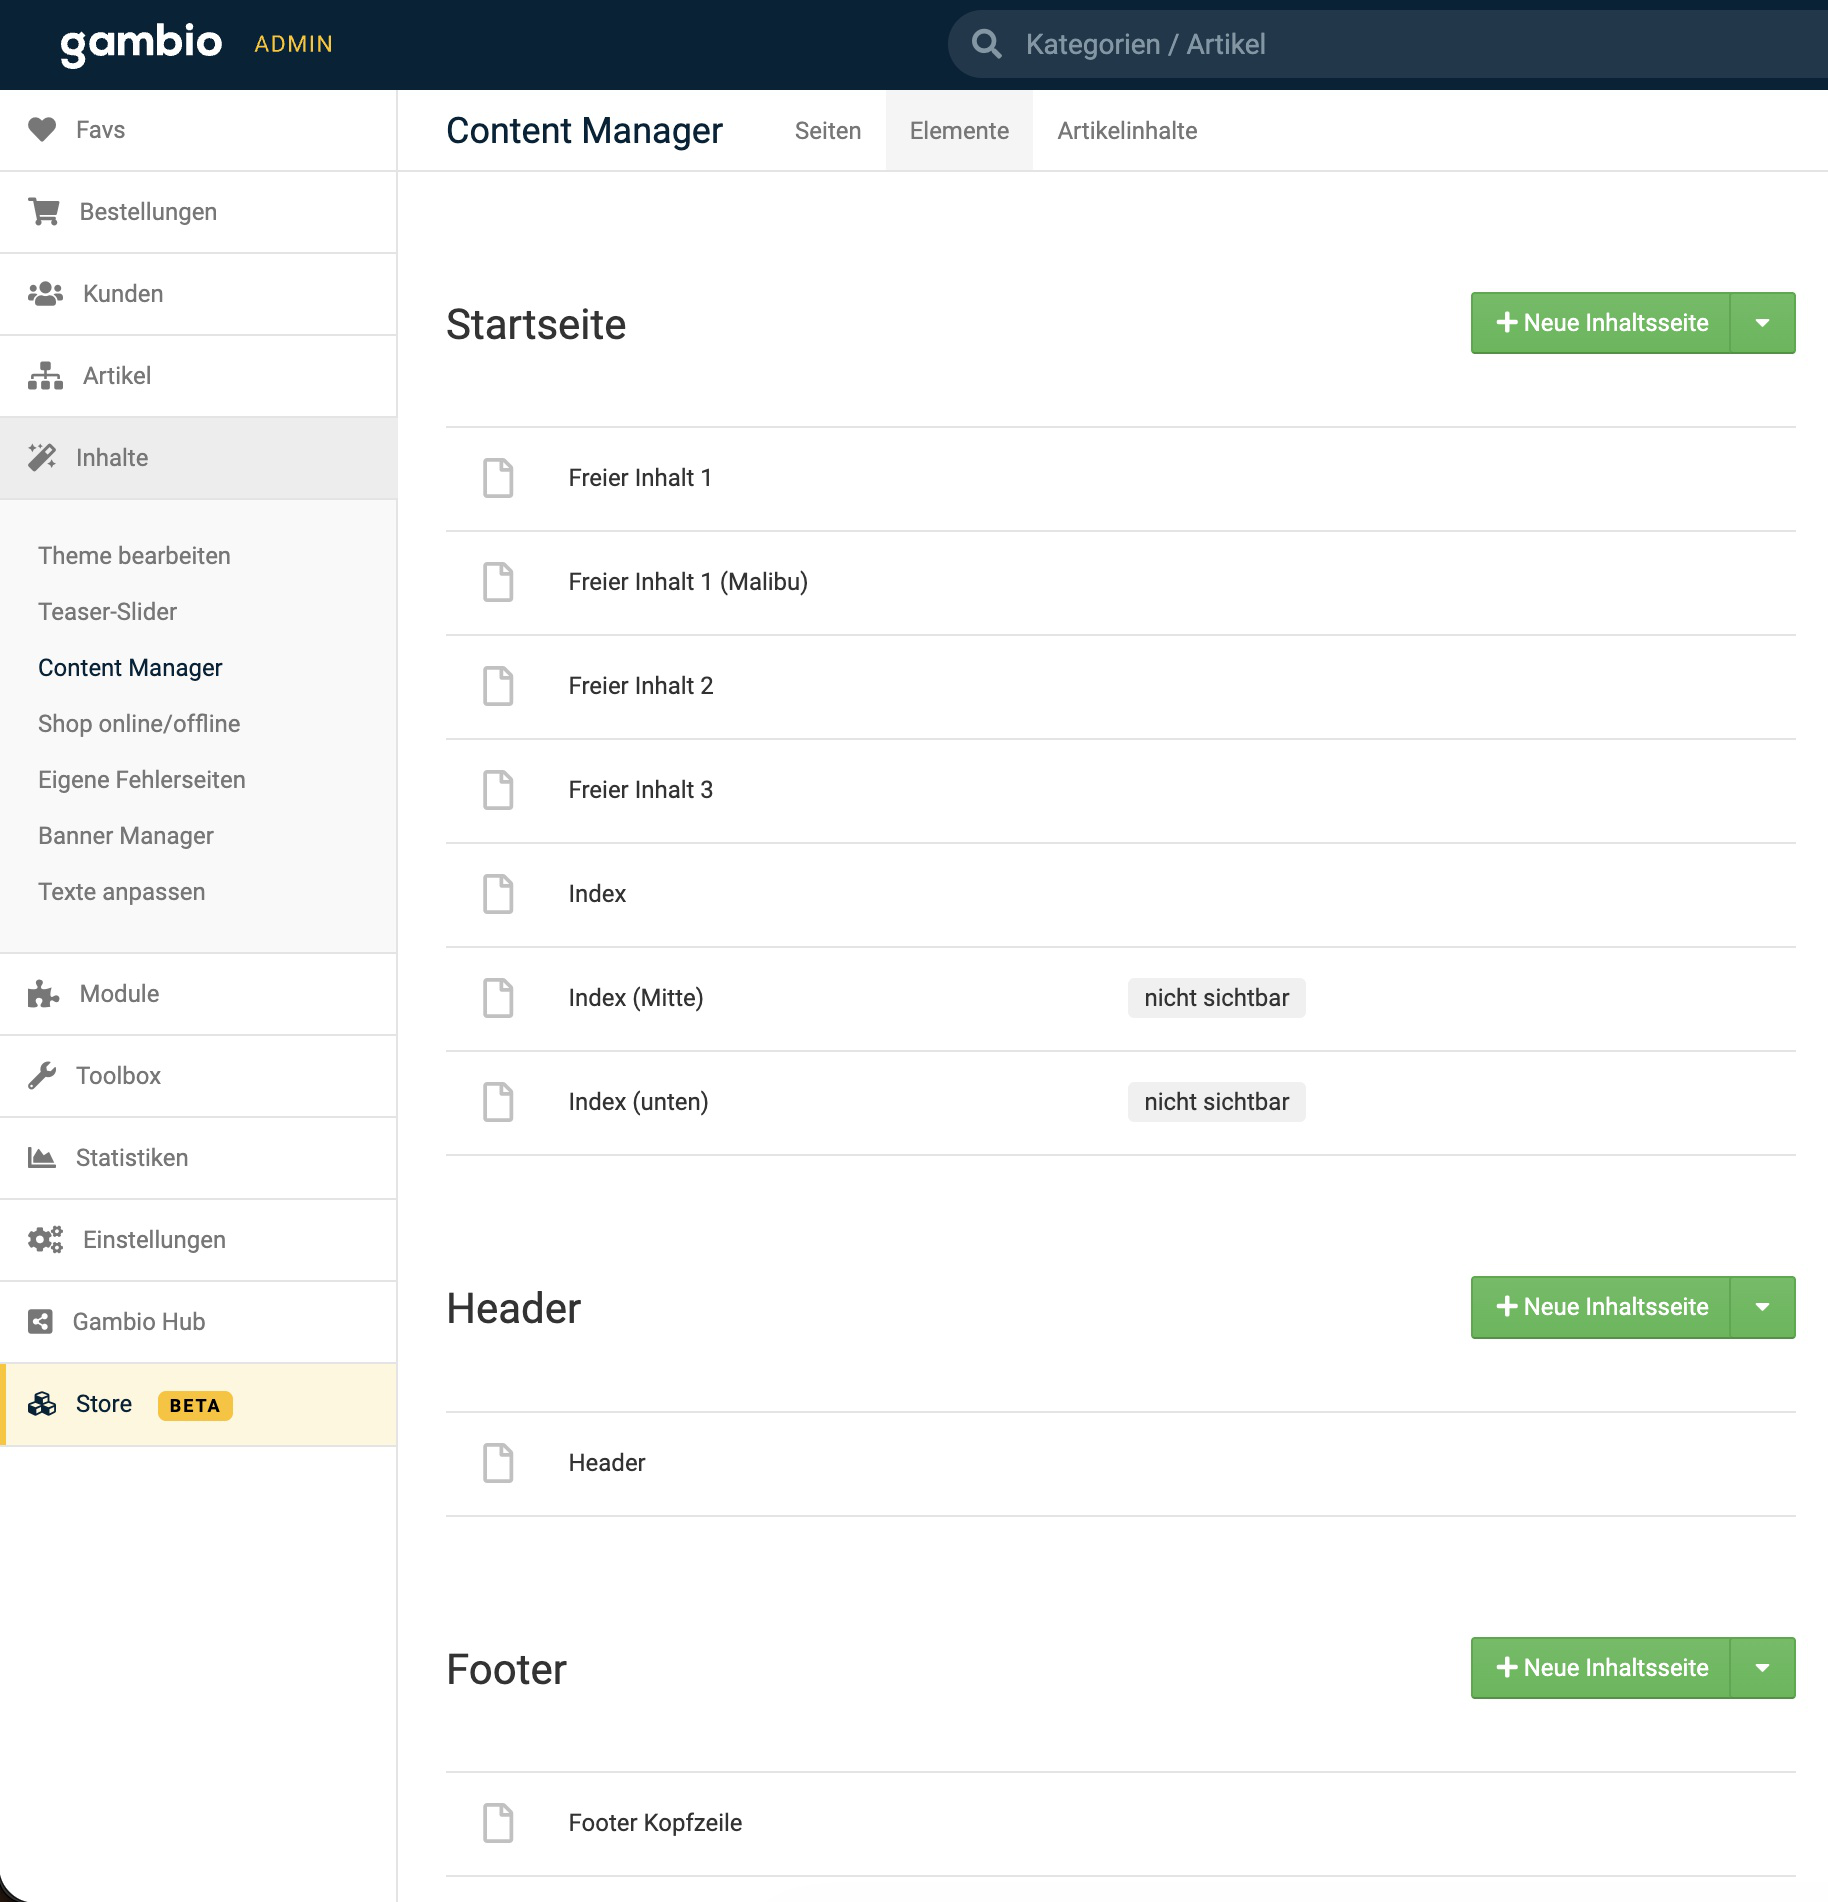
Step 2 – Open the Content Manager. In the admin area, go to Content > Content Manager and open the Elements tab.
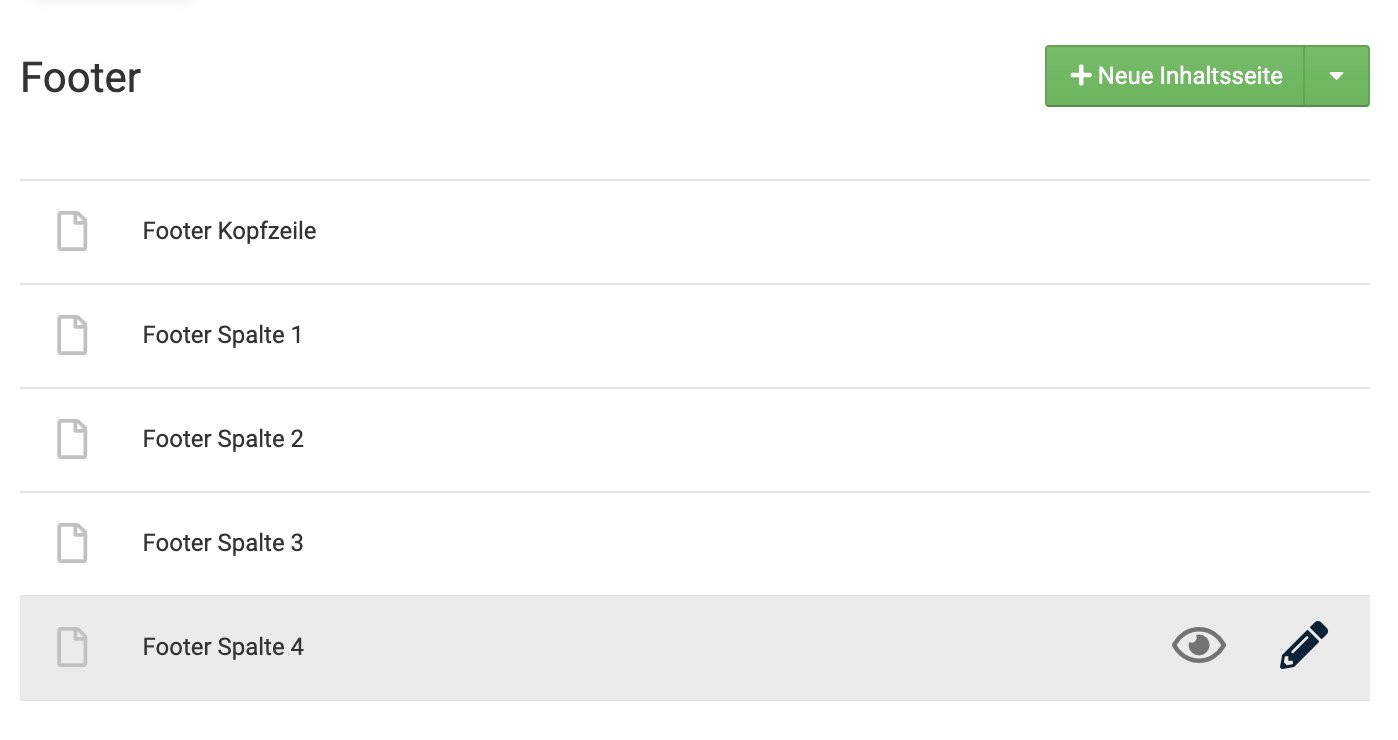
Step 3 – Edit footer column 4. Scroll to the footer section, hover over Footer column 4 and click the edit (pencil) icon.
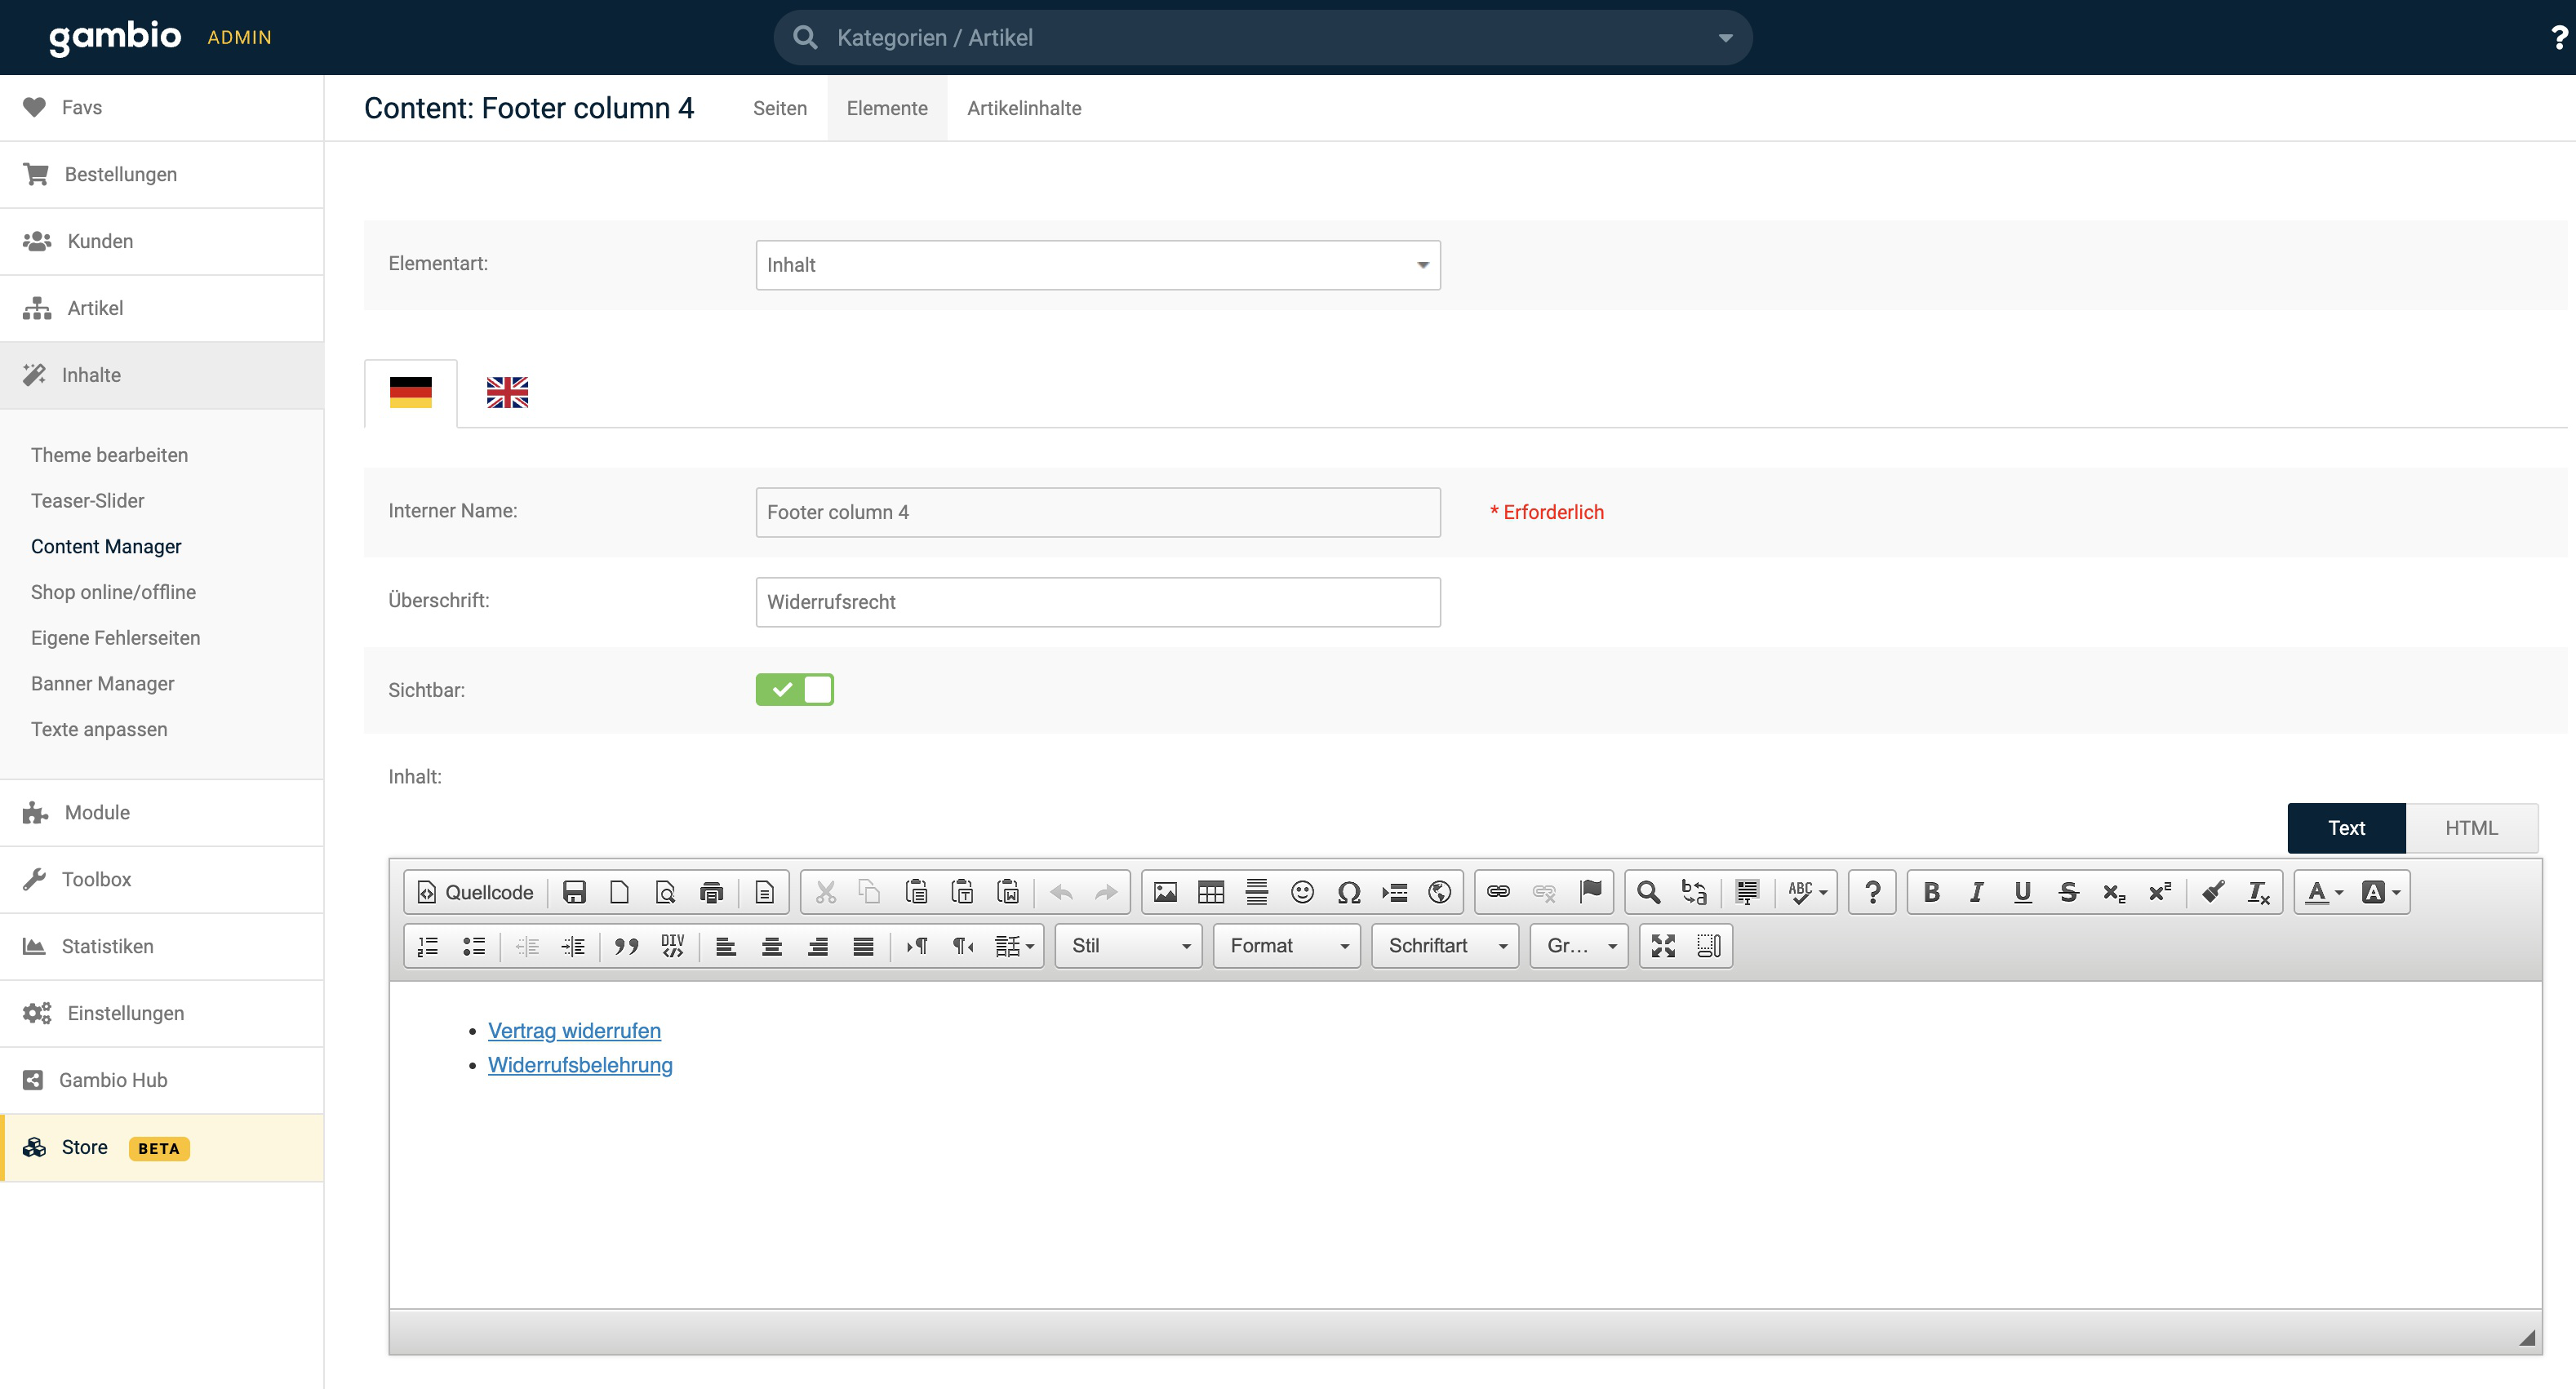
Step 4 – Update labels and content for each language. Set the Heading to Right of withdrawal and make sure Visible is enabled. Repeat this for each language tab (e.g. German and English).
Step 5 – Insert the HTML snippet. In the content editor, switch to HTML mode and paste the following snippet into the content field:
<ul class="footer-withdrawal">
    <li><a class="btn btn-withdrawal" href="withdrawal.php">Withdraw from contract</a></li>
    <li><a href="shop_content.php?coID=3889895">Right of withdrawal</a></li>
</ul>
Note
Adjust the coID value (in the example 3889895) so that it matches the content page ID of the right-of-withdrawal page in your own shop.
Step 6 – Save the element. Click Update to save the changes.
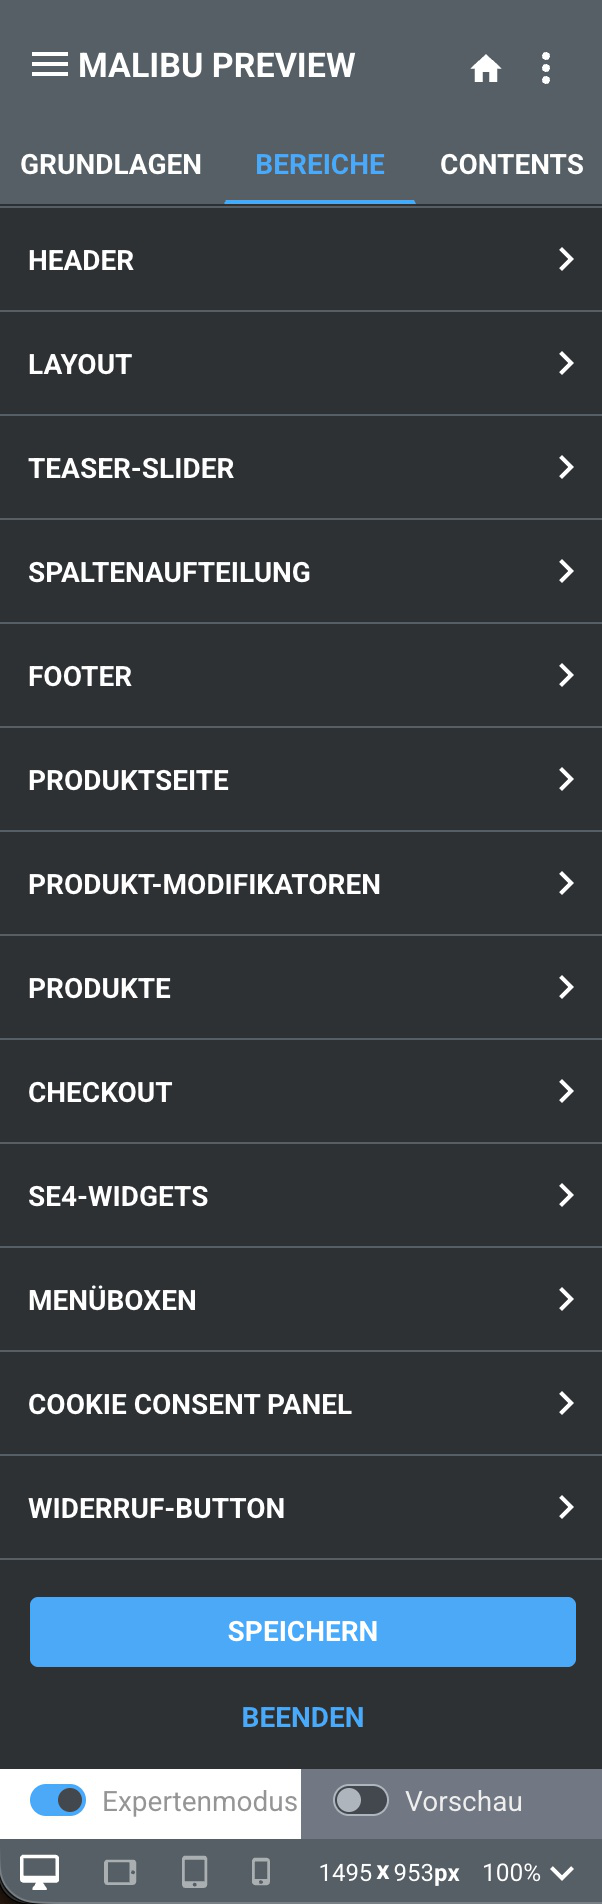
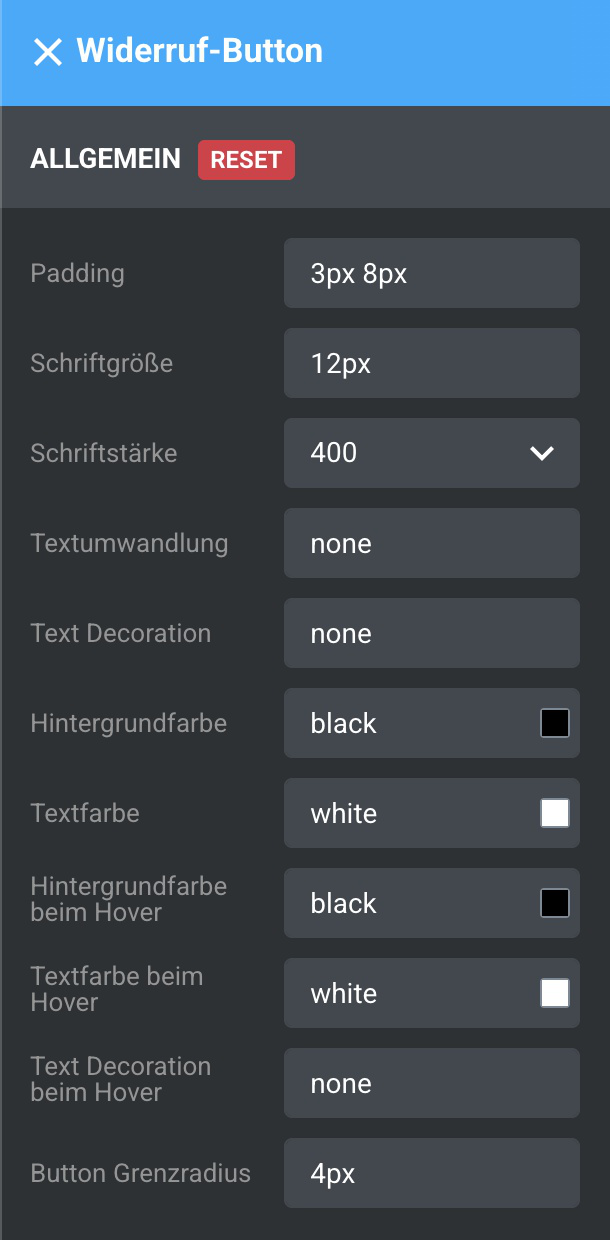
Button styling in the theme editor. The button styling can be adjusted directly in the theme editor, without writing any CSS. Go to Content > Edit theme > Areas (make sure Expert mode is enabled) and open the WIDERRUF-BUTTON panel.
Use the available options to style the button – padding, font size, font weight, text transform, text decoration, background and text colors (including hover states), hover text decoration and the button border radius. Adapt these to your shop's design.
Note
If you need styling that goes beyond the panel, you can still add custom CSS via the theme menu Edit SCSS/CSS. Use the class .btn.btn-withdrawal.
Method 2 – via Content Zones (StyleEdit)¶
This method inserts the withdrawal button directly into the footer layout via Content Zones in StyleEdit.
Step 1 – Log in as admin. Open the shop and log in with an administrator account.
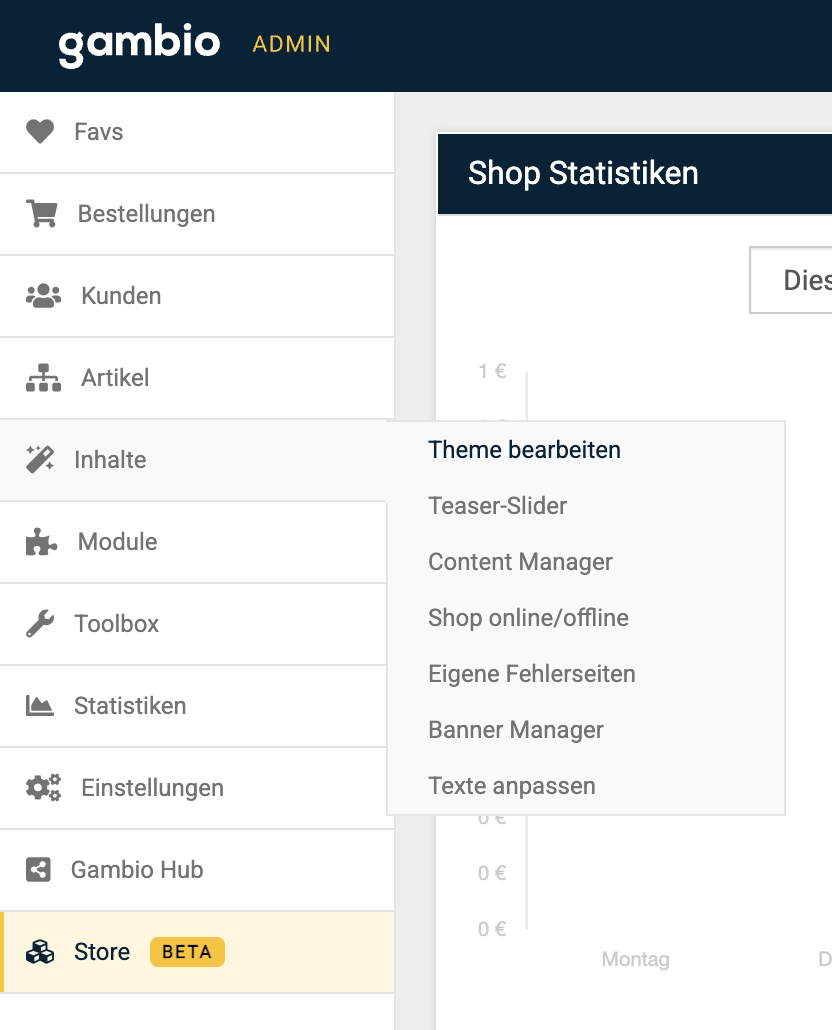
Step 2 – Open the theme (StyleEdit). In the admin panel, go to Content > Edit theme to launch StyleEdit.
Step 3 – Set the footer variant to „Custom“. Navigate to Areas > Footer > Variants and select the Custom variant.
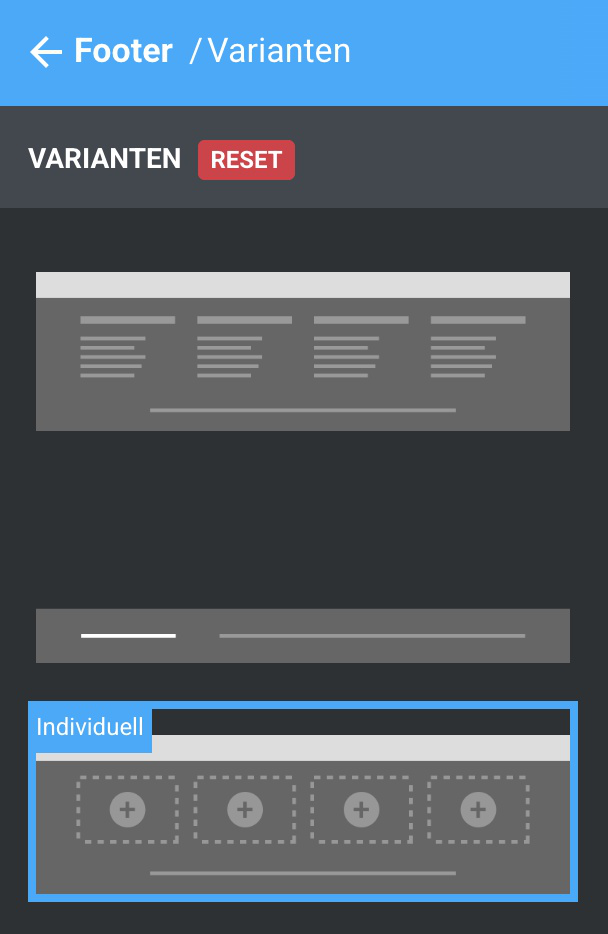
Step 4 – Wait for the new footer to load. The footer reloads with editable Content Zones, showing an HTML widget for each column.
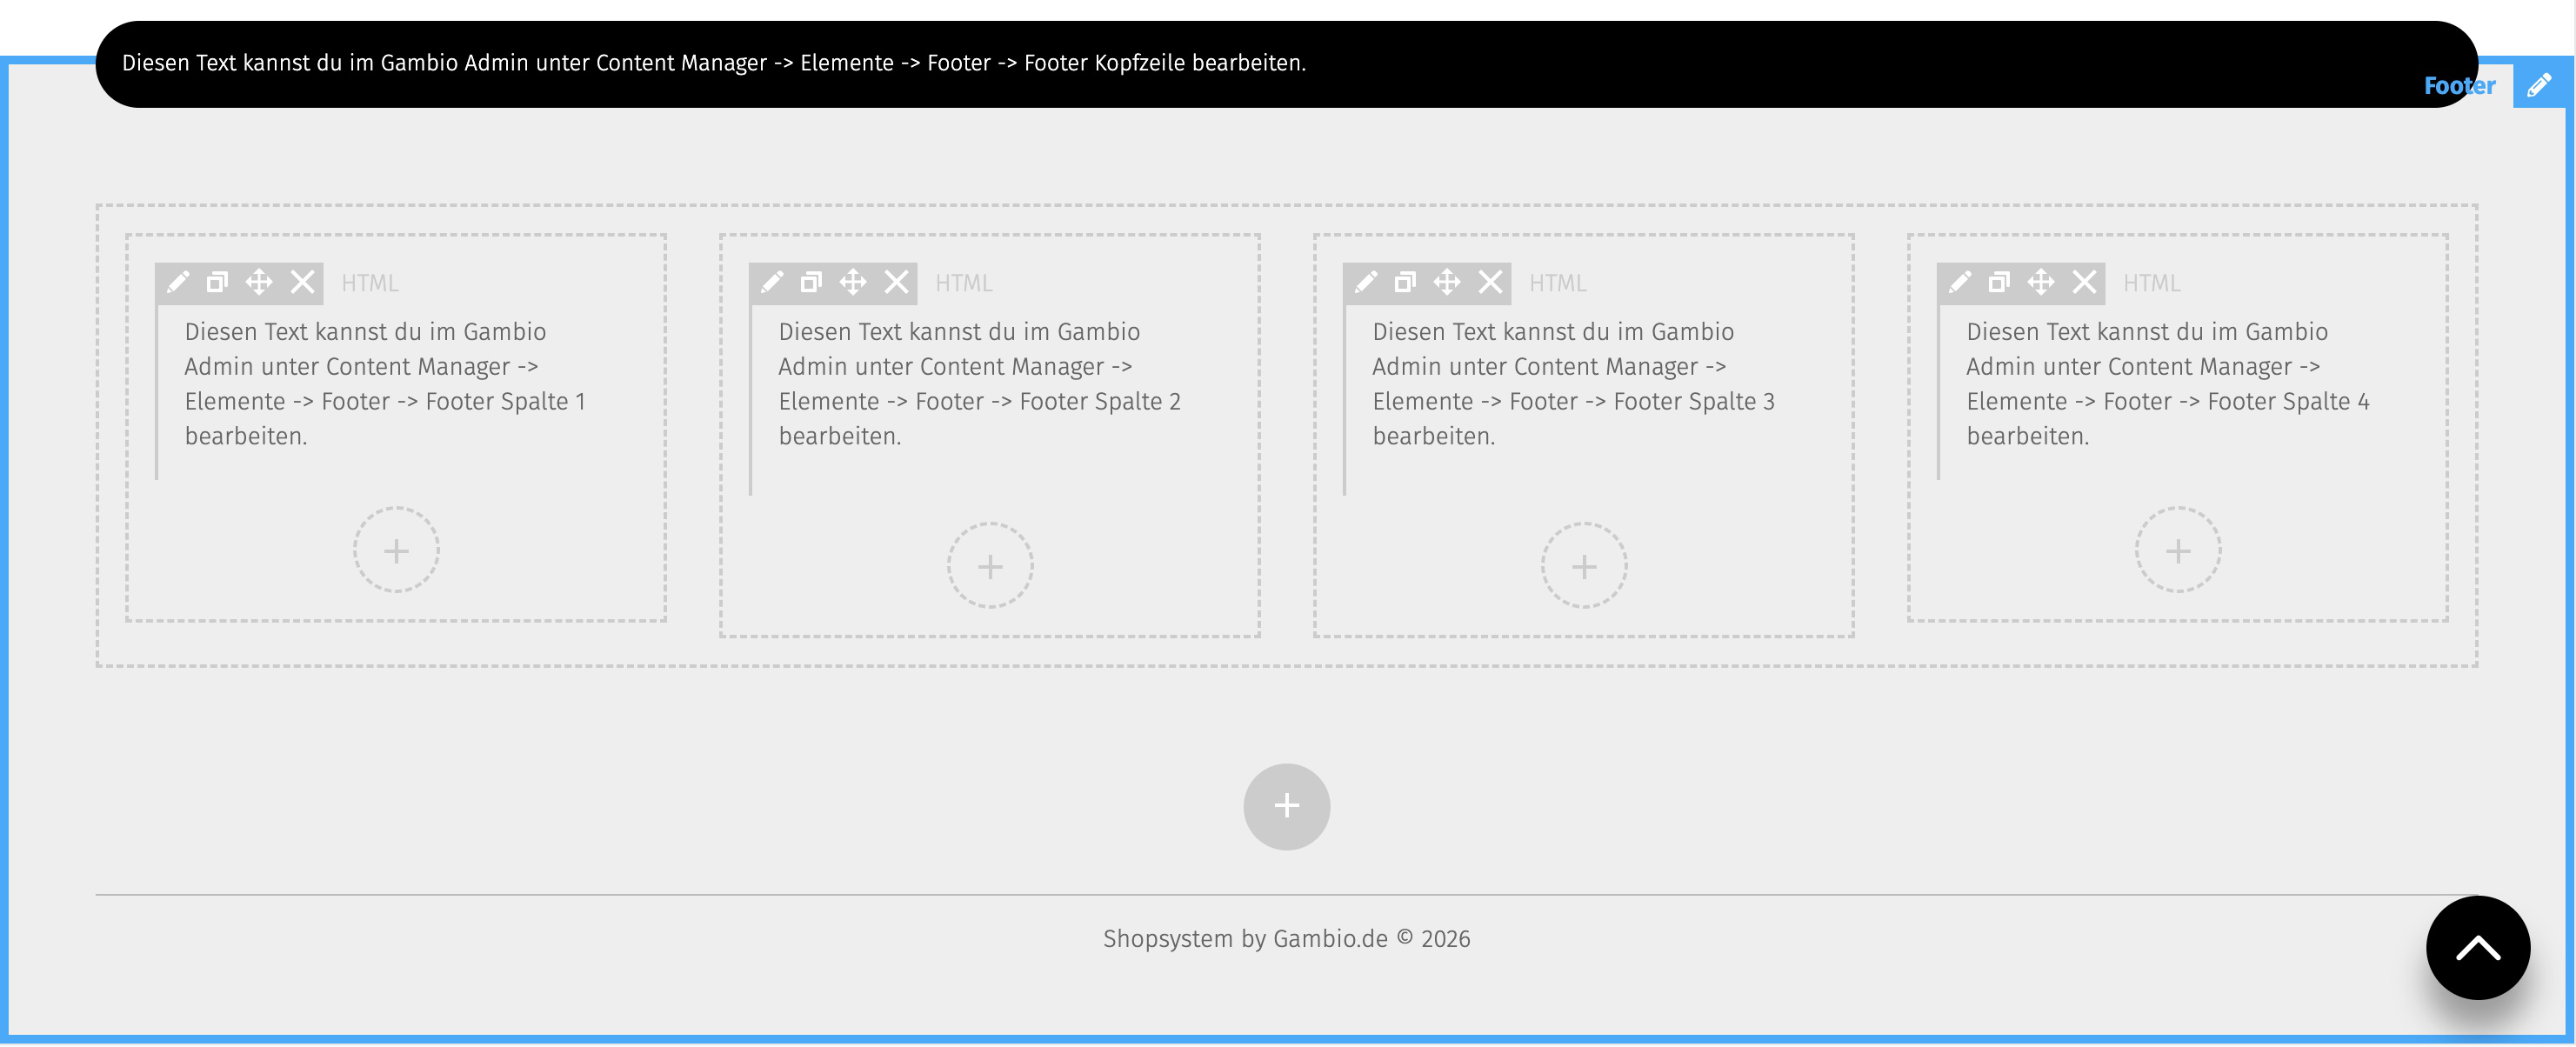
Step 5 – Edit the HTML widget for footer column 4. In the HTML widget for column 4, click the edit (pencil) icon.
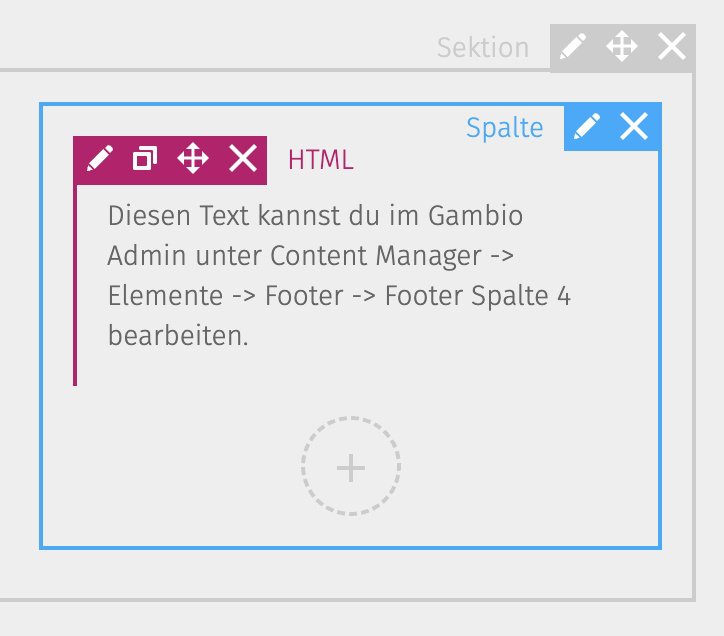
Step 6 – Insert the snippet for each language. Paste the snippet into the widget and use the correct labels for each language. For English:
<ul class="footer-withdrawal">
    <li><a class="btn btn-withdrawal" href="withdrawal.php">Withdraw from contract</a></li>
    <li><a href="shop_content.php?coID=3889895">Right of withdrawal</a></li>
</ul>
Step 7 – Save. Click Save. The changes are published and can be checked on the live site.
Note
Keep the labels language-consistent (English: Withdraw from contract / Right of withdrawal – German: Vertrag widerrufen / Widerrufsbelehrung) and adjust the coID to the right-of-withdrawal page of your shop.