E-mails
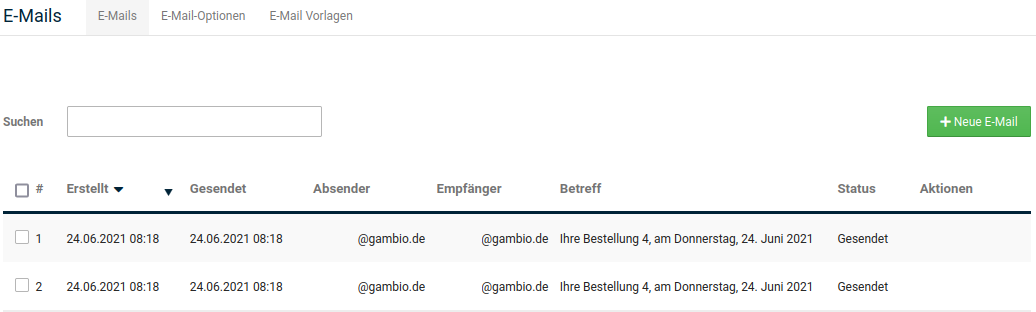
Via Customers > E-mails, you have the option of sending e-mails to customers and managing them.
Writing, editing and forwarding e-mails
By clicking on New e-mail, you can write an e-mail. A new window opens in the Details tab. The same window is available to you when you edit or forward an existing e-mail. You can find more details on this in the chapter Managing e-mails.
Details
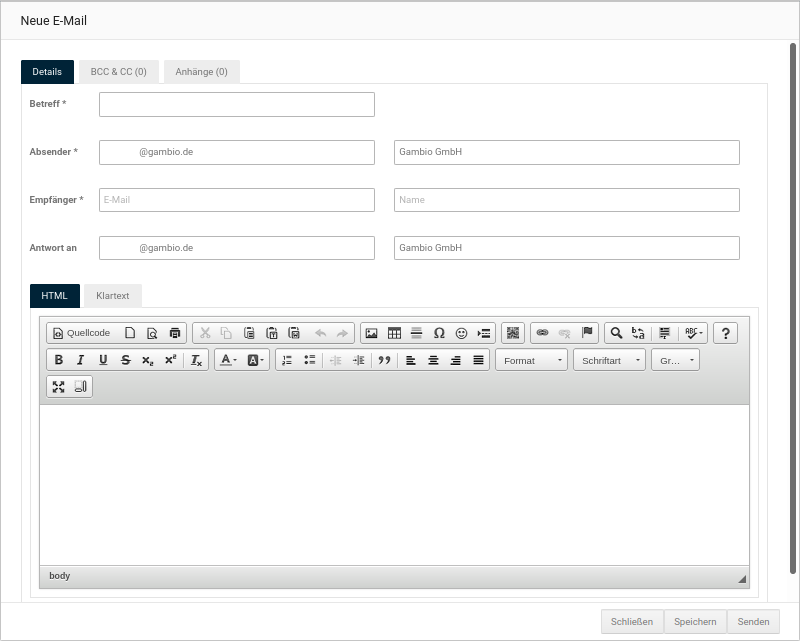
In the upper section, Subject, Sender, Recipient as well as an optional reply address (Reply to) can be entered.
In the lower section of the window, the actual mail text can be entered. Via the tabs HTML and Plain text, the mail can be written either as HTML (default) or as plain text, without formatting.
The so-called CK Editor is integrated in the HTML tab. It can be used to format the text and optionally add links and images. You can find a detailed overview of the available functions in the chapter CK Editor.
With a click on Send, the e-mail is sent. Via Save, the mail is saved to be sent later (see Managing e-mails). If a mail has already been sent, a new mail is created when saving.
BCC & CC
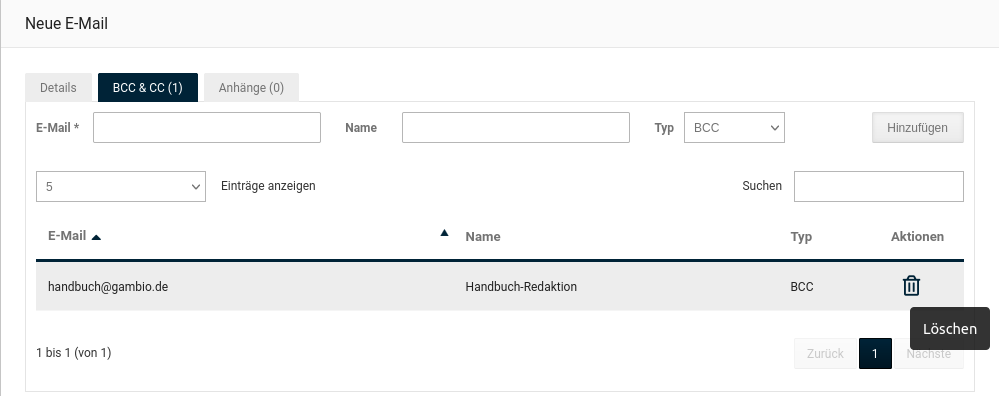
Via the BCC & CC tab, additional recipients can be added, both as Carbon Copy and as Blind Carbon Copy. To do this, enter the address in the field E-mail and use the dropdown menu Type to select whether you want to use BCC or CC. With a click on Add, the address is added as a recipient. A recipient can be deleted again via the rubbish bin icon in the Actions column.
Via the dropdown menu Show entries, the number of displayed recipients per page can be set; either 5 or 10 entries are listed per page. Via the input field Search, the entries can be filtered, both by e-mail and by name; the entries are narrowed down directly as you type. In addition, the recipients can be sorted either in ascending or descending order via the column headers of the table.
Below the table, you can switch between the individual pages if not all entries are displayed on one page.
Attachments
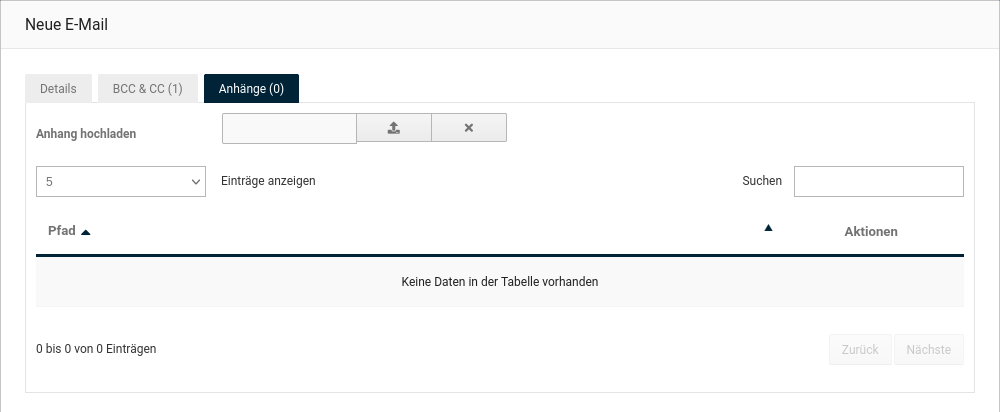
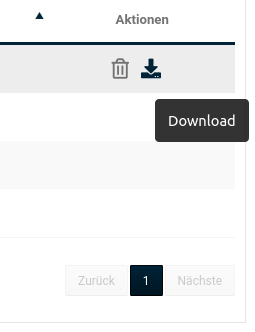
Via the Attachments tab, file attachments can be added to the mail. To do this, click on the Browse button under Upload attachment. After selecting the file via the dialog, it is uploaded and added to the e-mail. The file is displayed with the server path in the table below. By clicking on the rubbish bin icon in the Actions column, the attachment can be removed again. Via the download icon, the file can be downloaded from the server.
Via the dropdown menu Show entries, the number of displayed attachments per page can be set; either 5 or 10 entries are listed per page. Via the input field Search, the entries can be filtered by the file name in the path; the entries are narrowed down directly as you type. In addition, the attachments can be sorted by file name via the column header of the table.
Below the table, you can switch between the individual pages if not all entries are displayed on one page.
Managing e-mails
Sent and saved mails are listed in a table. With the help of the dropdown menu ...per page, the number of e-mails per page can be set to 20, 30, 50 or 100 entries.
Via the input field Search, the e-mails can be filtered by sender, recipient or subject; the entries are narrowed down directly as you type.
The mails can be sorted by clicking on the column headers. Below the table, you can switch between the individual pages if not all entries are displayed on one page.
For each e-mail, the following options are available in the Actions column, from left to right:

- Send: e-mail is sent to the entered recipients
- Forward: e-mail is forwarded, a new window opens (see Writing, editing and forwarding e-mails)
- Delete: e-mail is deleted
- View: e-mail is displayed and can be edited (see Writing, editing and forwarding e-mails)
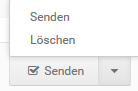
Sending and deleting e-mails is also possible in bulk. To do this, set the respective checkmarks in the first column for each e-mail that you want to delete or send. Alternatively, all mails can also be checked or unchecked at the same time; to do this, please use the box in the upper left corner of the table. Then use the dropdown button to select whether you want to Send or Delete the e-mails.
In addition, old attachments up to and including a certain date can be deleted. The shop refers here to the date in the column Created. To do this, first click on Delete old attachments and set the date in the field that opens, up to which you want to delete the attachments. The amount of data to be deleted is now displayed in the brackets to the left of the date. Click on Delete old attachments to delete the attachments.
Note
Deleted attachments continue to be displayed as attachments in order to provide a corresponding history. However, since the file no longer exists, it cannot be downloaded.